
Reviewed · PHOTOGRAPHY SESSIONS
Northern Light Photo tour
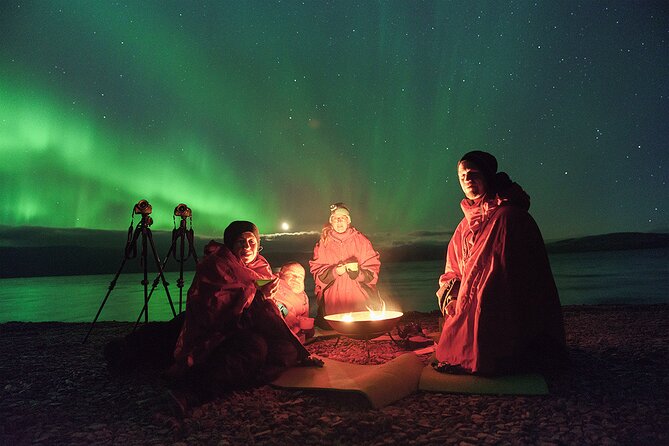
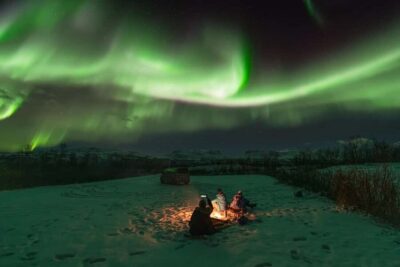
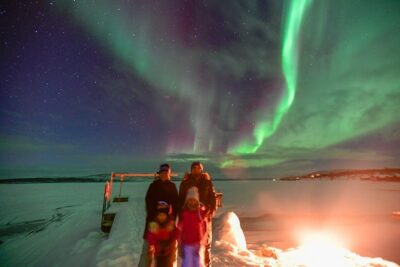
Northern lights in Kiruna are already a big draw, but this tour adds the missing piece for most first-timers: practical photo help. You start in town, then your guide works the sky and the weather to find the best chance for clear views and better aurora pictures.
I especially like two things. You get real camera coaching with the gear they provide, so you are not guessing in the dark. And I like that everything for shooting in winter is handled, including a tripod, headlamp, and even cover clothes and warm winter shoes, so you can focus on the lights.
One drawback to plan for: nature controls the show. Even with a good location choice, clouds can make the auroras faint to the naked eye, which means you may rely more on the camera than your own sightline.
Key highlights you should care about
- Small group size (max 8), so you get time for setups and questions
- Weather-based location hopping, because auroras need clear skies
- Provided wide-angle camera gear plus tripod, built for aurora night shots
- Comfort support for Arctic conditions, cover clothes, warm winter shoes, and a headlamp
- No SD card included, but you can buy one from the guide for SEK 250 if needed
Northern lights photography that feels practical, not mysterious
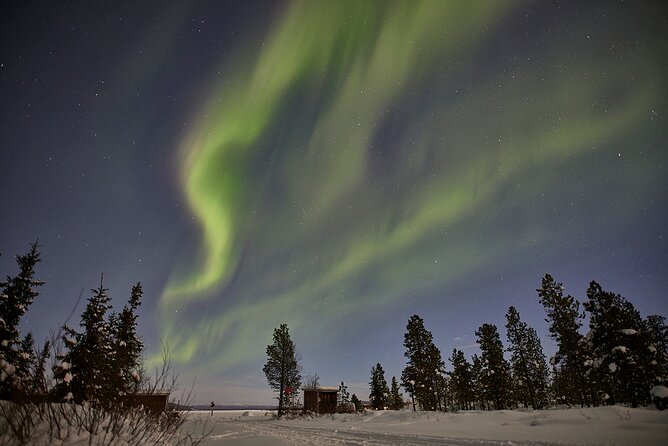
Kiruna is one of those places where the northern lights can be frequent, but that does not mean guaranteed fireworks every night. This tour is built around that reality. The guide chooses the best spot based on the weather so you spend more time where the sky has a chance to show the auroras clearly.
What I like most about this format is how it reduces stress. You are not trying to run your own plan after dark. You show up, you get set up, and the gear and instruction are already designed for aurora photography in a cold Arctic environment. That matters because your hands are slower in winter, your eyes take time to adjust, and even small camera mistakes can turn a great show into a blurry mess.
And yes, you still get the magic part. The tour is timed for night viewing, and when the lights do show, you get a focused window to watch and shoot without feeling rushed.
More Photo Tours in Kiruna
- Kiruna Northern Lights Tour with Photographer
★ 5.0 · 735 reviews - Kiruna: Northern Lights Tour with Photos
★ 4.9 · 333 reviews - Magical Northern Lights Photography Tour Kiruna
★ 4.5 · 30 reviews
Meeting in Kiruna: the 7:00 pm to 7:30 pm pickup plan
This tour is scheduled for the evening and runs about 4 hours. It starts at Camp Ripan, then ends back at the same meeting point, so you are not dealing with a complicated drop-off.
You have a few pickup options:
- Icehotel at 7:00 pm
- Outside the Kiruna tourist office at 7:15 pm
- Camp Ripan reception at 7:30 pm
A small but important rule: be on location about 5 minutes before departure. They do not wait longer than that. If you are late, you could miss the group and the start of the night’s photography window.
Tip for smooth timing: pick the closest pickup point to where you are staying, then build in extra buffer for winter walking and parking. In the dark, a short walk can take longer than you expect, especially if you are juggling a winter jacket, gloves, and maybe your own camera bag.
Small-group pace with gear that actually works in the cold
This is a max 8 travelers setup, which is ideal for night photography. When you are trying to frame something far away, people need space to set tripods without bumping legs. A small group also means the guide can keep an eye on your focus and exposure settings, not just give a quick explanation and disappear.
Included gear is straightforward and useful:
- Camera with a wide-angle lens
- Tripod for the camera or your mobile phone
- Headlamp
- Cover clothes and shoes
- Booster seats for children
Two details I find especially smart:
- The headlamp is not just for walking. It helps you adjust settings and manage your tripod safely without using your phone screen as a light source.
- Cover clothes and warm winter shoes reduce the chances you will go home with cold legs and numb fingers. They are not a substitute for warm layers under everything, but they do take pressure off your packing.
Also, you can shoot with their setup whether you use the provided camera or your mobile phone. The tripod support is key. Aurora photos often fail when the phone gets jostled even slightly, and in cold weather that jostling happens fast.
How your guide chooses where to chase clear skies
Every night is different. The tour is built around a simple idea: auroras need clear skies, and your best chance is not always the same spot.
Based on the weather, your guide chooses where to go before you set up. That means you might spend some time driving, then settle in for observing and shooting. The exact route is weather-dependent, but the goal stays the same: give you the highest odds of visible lights and decent conditions for photographs.
Expect a night flow like this:
- Start in Kiruna with the group together
- Get ready with gear, safety, and camera basics
- Drive out to a spot picked for the sky conditions
- Wait, watch, and photograph during the best window
- Return to the meeting point after the tour time
This is the part of the experience where patience pays off. If clouds move through, your naked-eye view can fade even while the camera still manages to capture faint detail. The tour is designed to handle that uncertainty with a flexible location approach rather than promising a single fixed viewpoint.
A few more Kiruna outings lined up together
- Kiruna: Small-Group Aurora Borealis Wayfinding with Photos
★ 3.8 · 7 reviews - Kiruna: Wildlife and nature photography
★ 4.5 · 7 reviews - Kiruna: Northern Light Photo Tour with Equipment
★ 5.0 · 7 reviews - Half day Wildlife and Nature Photography
★ 5.0 · 6 reviews
Camera coaching you can use immediately
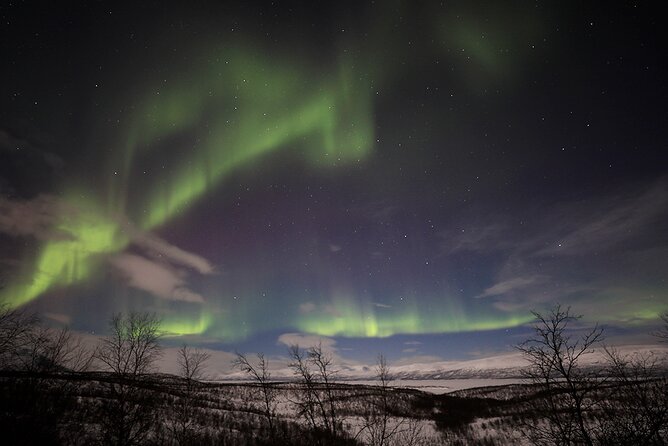
Aurora photography is one of those topics where people either get overwhelmed by settings or they never learn the part that matters. This tour avoids that trap by focusing on what you need to do in the field with the equipment you have.
You get hands-on training for using the camera they provide, including help with getting the right focus and handling the camera for night shots. In one account, the guide named Ilya gave a thorough session on the provided Canon cameras, and that training paired well with the SD cards people brought.
What you will likely practice or apply during the night:
- How to stabilize your shot with the tripod
- Where to place the camera so it is not blocked by heads or cold hands
- How to manage focus when your subject is the sky (and it is changing fast)
- How to adjust settings so faint auroras can show up in the final image
If you are new to photography, this is a big win. You are not learning in a classroom and then heading into the cold. You learn and use the same night, with a guide nearby to help you correct problems before they ruin your shot.
If you already know a bit, you still benefit. Having a structured aurora setup beats wandering around guessing what each setting does.
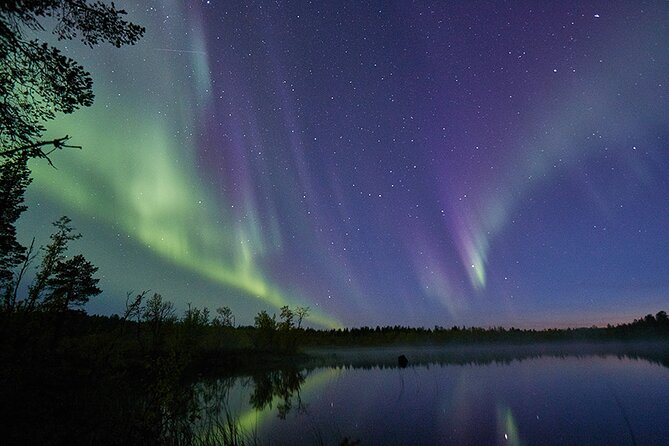
What you may see: faint with your eyes, better on camera
Here is the most honest expectation to set: sometimes the northern lights are subtle to the naked eye, especially with cloud cover or thin haze. That does not mean it is a wasted night.
A recurring theme in the experience is this gap between human vision and camera capture. With clouds softening the light, people may see only faint hints. But the camera can record aurora detail more clearly, giving you photos that look far more dramatic than what you could confidently see in the moment.
So, if your eyes are not picking up much at first, do not panic. Trust the setup. Use the headlamp carefully, let your eyes adjust to the dark, and give the aurora a few minutes to show itself while you work on a steady frame.
One more practical point: not everyone moves at the same speed when learning camera settings. The group setup is designed so people who learn faster can help get photos for everyone, so you do not end the night with only one person having usable shots.
Cold-weather comfort: cover clothes, warm shoes, and your personal extras
Even with cover clothes and warm winter shoes provided, this is still Arctic night weather. The actual photo spot can be very cold, because you are out in open air, often at night, with wind and long exposure conditions.
So I suggest you treat the provided gear as support, not as your only defense. Wear layers you are comfortable in. Keep a hat and gloves that let you still operate your camera smoothly. If you tend to get cold easily, consider extra hand warmth for the time you will spend holding position near your tripod.
One review advice that fits this tour perfectly: bring your own cold-fighting items like hand warmers. The tour provides outer cover clothing and shoes, but adding small personal comfort upgrades can make the difference between enjoying the whole evening and rushing to get back to warmth.
Price and value: what $225.11 buys you in real terms
At $225.11 per person for about 4 hours, it is not a cheap night out. But in context, it is also not just paying for a ride to the dark and back.
Here is what you are really buying:
- Expert help timing and choosing spots based on weather
- The included camera with a wide-angle lens
- Tripod support for camera or phone
- Headlamp plus protective winter clothing and shoes
- A group of up to 8, so help is personal enough to matter
Then there is the practical cost you avoid. Renting a tripod and trying to figure out aurora settings yourself in winter can add up fast, and the learning curve is steep. Even if you own a camera already, the guidance on focus and night handling is often the missing ingredient.
One extra thing to budget for: an SD memory card is not included. You can purchase one from the guide for SEK 250. If you already have an SD card, bring it. If you do not, plan to buy one so you do not lose your photos at the moment you want them most.
Given the included gear and the small-group instruction, the price feels more like paying for an organized night that helps you get usable images, rather than paying for a vague promise that the auroras will show.
Who this northern lights photo tour suits best
This works well if you fit one of these situations:
- You want photos, not just sightseeing
- You are new to aurora photography and want step-by-step help
- You do not want to carry and manage all the winter equipment yourself
- You are traveling with family, since booster seats are offered
You might think twice if:
- You hate waiting outdoors and you need constant action
- You are extremely sensitive to cold and do not plan to layer
- You only want to rely on what you see with your eyes, since auroras can be faint sometimes due to cloud cover
The best mindset for this tour is: treat the night like a working session. Watch when it happens, but also be ready to adjust your camera and settings. You will get the most from the guide’s time when you are open to learning for a few minutes, then applying it right away.
Should you book it?
Book it if you want a high-odds, low-stress approach to northern lights photography from Kiruna. The small group size, included tripod and cold gear, and the hands-on camera help are the core reasons this tour is worth your time.
Skip it or adjust your expectations if you are chasing a guaranteed show in perfect skies. This is weather-driven. Some nights you will see a lot, and some nights you will capture more on camera than you can clearly see with your own eyes. If you can handle that reality, you are in the right place.
If your goal is to come home with meaningful aurora photos and a night that feels organized instead of chaotic, this is a strong choice.
FAQ
How long is the Northern Light Photo tour?
It runs for about 4 hours, approximately.
Where does the tour start and end?
It starts at Camp Ripan, Campingvägen 5, 981 35 Kiruna, Sweden. The activity ends back at the same meeting point.
Do you offer pickup in Kiruna?
Yes. Pickup is offered at the Icehotel at 7:00 pm, outside the Kiruna tourist office at 7:15 pm, and Camp Ripan reception at 7:30 pm.
What camera and photo gear is included?
The tour includes a camera with a wide-angle lens, a tripod for the camera or mobile phone, and a headlamp.
Is an SD memory card included?
No. The SD memory card is not included, but you can purchase one from the guide for SEK 250.
What winter clothing is provided?
You receive cover clothes and shoes to help you stay warm in Arctic conditions.
What is the group size?
There is a maximum of 8 travelers.
What language is the tour in?
The tour is offered in English.
Is free cancellation available?
Yes. You can cancel for a full refund up to 24 hours in advance of the experience start time. If you cancel less than 24 hours before, the amount you paid is not refunded.
Just listed in Kiruna
- Aurora Borealis Dogsled Tour★ 5.0 · 4 reviews
- Ice Hotel and Sami Camp from Kiruna★ 5.0 · 5 reviews
- From Kiruna: Aurora Snowmobile Adventure★ 5.0 · 5 reviews
- Evening Sit Back and Relax Aurora Dogsledding Tour★ 5.0 · 7 reviews
- Kiruna: Small-Group Aurora Borealis Wayfinding with Photos★ 3.8 · 7 reviews
- Snowmobile Adventure in Kiruna★ 5.0 · 8 reviews
- Abisko and Björkliden Day Trip From Kiruna with Lunch★ 5.0 · 8 reviews
- Sunset Zen Husky Tour★ 5.0 · 9 reviews
Photography Sessions, compared.
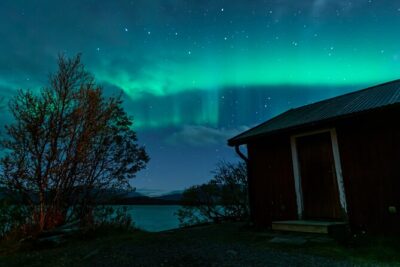
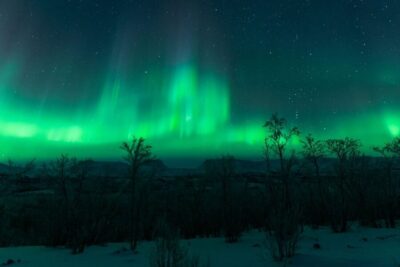
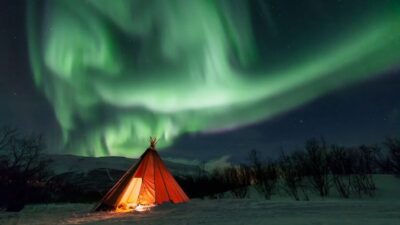
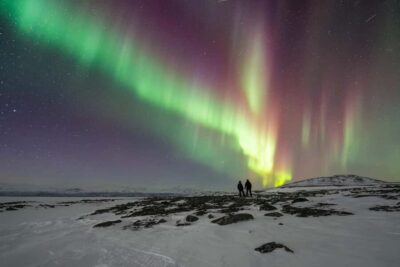
Magical Northern Lights Photography Tour Kiruna
Read our review →
Browse the lists this tour appears in